How to Draw a Teacup and Saucer in Graphite
How to Draw a Teacup and Saucer in Graphite
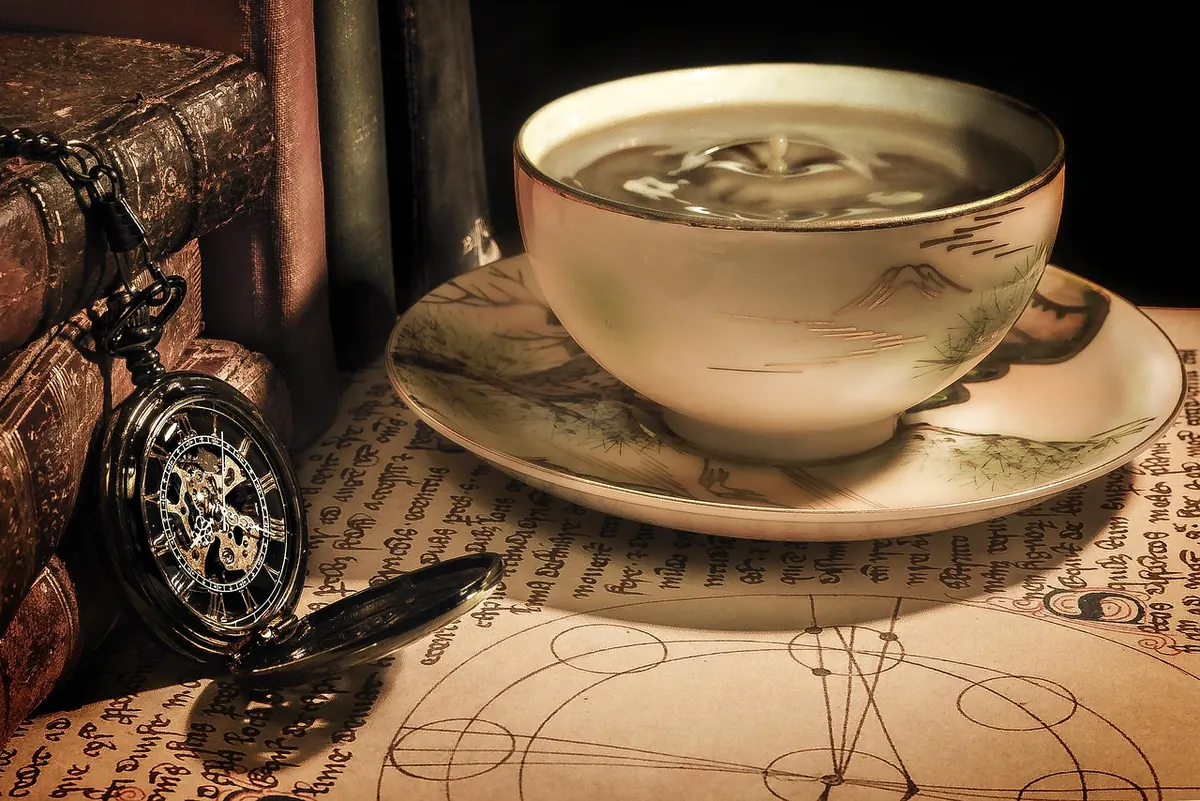
A chipped mug is a fine thing to drink from, but a proper teacup on a saucer — thin rim, small looped handle, a soft pool of shadow on the table — makes a far better drawing subject. It holds still, it costs nothing, and everything it teaches you turns up again in portraits, still lifes and landscapes. Work through this and you will have practised ellipses, symmetry, reflected light and cast shadow in one sitting.
The real advantage of a teacup is that it is familiar. You know how china behaves, even if you have never drawn it. You know it is smooth, slightly reflective, and fragile at the rim. That knowledge is useful, but it can also trick you into drawing the idea of a cup instead of the cup in front of you. So slow down, measure, and let the object tell you what it actually looks like.
Before you start
You need less than you think.
- A plain white or cream cup and saucer. Pattern fights with tone; save the floral one for later. A cup with a simple profile — no bulges, no scalloped rim — will teach you more than an ornate one, because every wobble in your line is your own.
- Pencils in HB, 2B and 4B. Add a 6B only if you like a really deep contact shadow. Keep them sharp. A blunt 4B smears; a sharp 2B can still lay down a surprisingly rich dark if you layer it.
- Smooth-ish cartridge paper, or a sketchbook with a light tooth. Rough paper adds texture that can fight the smooth glaze of china.
- A kneaded putty rubber, a sharpener, and a small mirror if you have one. The mirror is not a luxury: it flips the drawing and makes lopsided errors jump out.
- Steady light. A desk lamp is easier than a window, because the sun moves. If you must use daylight, work at the same time of day and keep the cup in the same spot.
Set the cup down with the light coming from the front-left and slightly above. That gives you a lit left side, a shadowed right side, and a cast shadow running off to the right. Don't move the lamp once you have started. If you do, the whole logic of the shading changes and you will spend the rest of the drawing guessing.
Block in the shape with a centre line
Almost everything in this drawing is symmetrical about a vertical line, so draw that line first, lightly, and keep it. Then mark four heights: the top of the rim, the bottom of the cup, the near edge of the saucer and the far edge of the saucer. Next, compare widths. Hold your pencil at arm's length, thumb on the shaft, and measure the cup's width at the rim against its height. Teacups vary — some are nearly square in proportion, some are wide and shallow — so measure yours rather than assuming.
Work in this order:
- Saucer's outer ellipse.
- Cup's rim ellipse, centred on the line.
- Cup's base ellipse.
- Handle, drawn as a loop.
Sketch all four with light, searching lines. Nothing is more tedious than carefully refining a rim and then discovering the saucer is a fifth too narrow. Keep the lines faint enough that you can change your mind. At this stage you are not drawing china; you are drawing a diagram of where the china will go.
When the proportions feel right, check the whole thing in a mirror. A symmetrical object should look symmetrical in reverse too. If the handle suddenly seems too low, or the saucer too far to one side, fix it now. Corrections are cheap in pencil and expensive in eraser.
Ellipses: get these right and the rest follows
An ellipse is a circle seen from an angle. Draw it as a smooth curve with no flat sides and no points. To check one, imagine a rectangle drawn around the shape: a true ellipse touches the middle of all four sides.
Two axes matter. The long one runs horizontally here; the short one runs vertically. The longer the short axis, the rounder the ellipse looks. That is where perspective helps you. The lower a circle sits below your eye level, the more open its ellipse becomes. Your saucer sits much lower than the cup's rim, so the saucer's ellipse is noticeably rounder than the rim's. Get that relationship right and the drawing feels as though it is sitting in space rather than lying flat on the page.
If you can draw a convincing saucer, you can draw a convincing wheel, a hat brim, or the top of a round table.
Draw ellipses with quick, light strokes from the shoulder, not slow twitches from the fingers. Overlap four or five passes and let the best one win. Do not erase the others yet. They are a record of your search, and they will disappear under the shading soon enough.
The rim has thickness
Look closely at a cup and you will see two ellipses at the top: the outside edge and the inside edge, with the inner one sitting very slightly up and back. You see much more of the far wall's thickness than of the near wall's. That thin inner line is one of the quickest ways to make a teacup look like china rather than a paper cup.
The same idea applies to the base. A cup does not sit on a single hard line; it has a small foot ring, and you often see a sliver of shadow beneath it. That sliver is what stops the cup from looking pasted onto the saucer.
Shading: make the china look round and smooth
Now the drawing moves from architecture to light. The outline tells you where the cup is; the shading tells you what it is made of. Work from light to dark, building tone in thin layers. China has a smooth surface, so your pencil marks should be soft and gradual, not scratchy. If you can see individual strokes in the final shadow, you have probably pressed too hard too early.
Form shadow and reflected light
On the shadowed right side of the cup, the darkest area is not at the very edge. It sits a little in from the edge, in what is called the core shadow. Beyond that, near the silhouette, the cup often picks up a faint bounce of light from the table or the saucer. This reflected light is subtle, but it is essential. Without it, the cup looks like a flat cut-out.
Leave the lit left side almost untouched. The brightest spot, the highlight, can simply be the white of the paper. If you cover it with pencil, you lose the shine. Use the kneaded rubber to lift out a soft highlight if you accidentally shade over it.
The handle
The handle is a small cylinder bent into a loop, so it behaves like a cylinder: light on one side, shadow on the other, with a cast shadow falling onto the cup where the handle attaches. Draw it as a complete loop first, even the part that disappears behind the cup. Then erase the hidden section. The handle should feel attached, not stuck on. Check where it meets the cup; that junction usually has a small dark accent.
The saucer and cast shadow
Shade the saucer more lightly than the cup. It is mostly a flat plane, so it catches more light. Its inner curve, where it rises to meet the cup, will be darker. The cast shadow on the table starts at the base of the saucer, hugs it tightly, then softens as it stretches away to the right. The darkest part is right against the object. From there, fade the edge with light hatching or a gentle rub with your finger — but only if you like a slightly smudged look. A clean pencil edge is often more convincing.
Common mistakes and quick fixes
- Flat-looking ellipses. Check that the saucer is rounder than the rim. If they are the same, the drawing will look tipped up like a diagram.
- A rim that looks like paper. Add the inner ellipse and the thin far-wall thickness. It is a small line with a big job.
- A floating cup. Darken the contact shadow where the cup meets the saucer and where the saucer meets the table.
- Smudged highlights. Use a kneaded rubber to lift clean shapes, then re-shade around them with a sharp pencil.
- Overworked shadows. Step back. If the shadow is darker than the darkest part of the cup, it will pull the eye away from the subject.
Finishing touches
At the end, sharpen the most important edges: the rim, the handle's outer curve, and the near edge of the saucer. Soften the edges that turn away from the light. This combination of sharp and soft is what makes a drawing feel three-dimensional. Finally, check your values by squinting. The cup, the saucer and the cast shadow should read as three separate tones even when you blur your eyes.
Sign it, date it, and then draw it again tomorrow from a slightly different angle. The second version will be faster, and the third will surprise you. A teacup is small, but it is not a small subject.
Photo: Pexels / Pixabay
You Might Also Like
A 30-day drawing challenge using household objects, with a week-by-week list, plus practical tips on observation, line confidence and shading habits.
Artist's block is rarely about missing supplies. Five free drawing exercises — timed studies, blind contours, master copies and more — to get your hand moving again.