How to Draw a Realistic Eye in 10 Steps (Graphite Pencil)
Most drawings of eyes fall apart in the same three places: the shape is too round, the iris sits on the surface like a sticker, and the lashes look like a row of identical spikes. None of that is a talent problem — it is an order-of-work problem. Draw the eye in the right sequence and the likeness arrives almost by itself. What follows is a graphite method in ten steps, written for beginners, using materials you probably already own.
Before you start: tools and setup
You do not need a big kit. A pencil you can sharpen to a fine point matters far more than the brand printed on the barrel. For this exercise, keep three pencils within reach: a hard one (HB or 2H) for the light construction lines, a mid one (2B) for the iris and lid tones, and a soft one (4B or 6B) for the pupil, the lash line and the deepest creases.
- A smooth-to-medium drawing paper — too much texture and fine iris detail fights the grain
- A kneaded eraser, pulled to a point, for lifting out highlights
- A blending stump or a small soft brush for gentle transitions
- A sharpener or craft knife, plus scrap paper to clean the point
- One clear light source — a desk lamp to one side is ideal, because shadows need a direction
Work larger than life. If you are learning, draw the eye at roughly three times its real size so your pencil has room to explain the details.
Steps 1–3: build the shape and proportions
Resist the urge to draw an oval and call it an eye. The opening is closer to a squat almond: the upper lid arches up in a curve that peaks slightly towards the outer third, while the lower lid is flatter and dips only gently. Both lids meet in a sharp point at the inner corner and a softer point at the outer corner.
Before committing to any dark line, check these proportions:
- The iris is a true circle, but the upper lid covers its top. Never draw a full circle and then draw lids over it.
- In many eyes a sliver of white shows below the iris where it meets the lower lid. A large gap of white looks startled; none at all looks flat.
- The height of the eye opening is roughly half its width — often less in a relaxed face.
- The eye sits in a socket. Sketch a faint curve above the lid for the brow bone, and a soft shadow beneath the eye, before you touch the eyeball itself.
Keep the construction lines light. You should barely see them by the end, and you should be able to erase any of them without leaving a scar in the paper.
Steps 4–6: the iris, pupil and reflections
An iris is not a flat disc of one tone. It has a dark outer rim, a mid-tone body, and fine fibres that radiate from the pupil like spokes. Build it in layers.
- Lay a light 2B tone over the whole iris using short strokes that run from the pupil outwards, following the direction of the fibres.
- Darken the outer rim and the ring immediately around the pupil. That contrast is what makes an eye look wet rather than wooden.
- Deepen the pupil with your softest pencil. It should be the darkest note in the drawing.
Next, the highlights. Look at where the light is coming from and give the reflection a shape: a soft rectangle for a window, a small square for a lamp, a curved sliver along the lid. Two highlights — one larger, one small and faint on the opposite side — read as believable. The cleanest way to make one is to leave the paper untouched, or to lift tone out with a pointed kneaded eraser. White pencil over graphite rarely looks as crisp.
Finally, add the cast shadow the upper lid throws across the top of the iris. It is subtle, but it stops the eyeball looking like a sphere glued to the face.
Steps 7–8: lids, creases and surrounding skin
Now give the lids thickness. The upper lid is a fold of skin, so you are drawing two lines: the lash line along the bottom of the fold, and the top edge of the fold above it. Leave a thin band of light between the two where the skin catches the light.
The white of the eye is never white. Shade it with a light grey, darkest at the inner and outer corners and just under the upper lid. The tear duct is a warm grey with a small dark notch where the lids meet. Above all of this, the crease line and the shadow under the brow should be drawn softly, with a blended edge. Hard edges pull the eye forward and flatten the rest of the face.
Steps 9–10: eyelashes and final highlights
Lashes grow in clumps, not as a fence. Start each clump at the lid line with a firm dark stroke that curves up and outwards, then tapers as it lifts away from the skin. Vary the length — the longest sit around the centre and outer third, the shortest at the inner corner. Direction matters just as much: lashes near the inner corner lean almost vertical, while the outer ones flick sideways.
Lower lashes are shorter, sparser and point down. Draw fewer than you think, then soften them with a light touch of the stump so they sit behind the upper lashes rather than competing with them.
Finish with a pass over the whole drawing. Squint at it: the pupil should read darkest, the highlights brightest, and everything else should fall between the two. If the eye looks flat, a little more contrast along the lash line will usually fix it.
Mistakes that flatten an eye
- Outlining the entire eye with one even, dark line
- Drawing a complete iris circle that ignores the upper lid
- Leaving the white of the eye as untouched paper
- Making every lash identical in length, angle and thickness
- Shading the iris at one flat tone instead of building layers
- Adding highlights as round white dots rather than shaped reflections
How to practise this
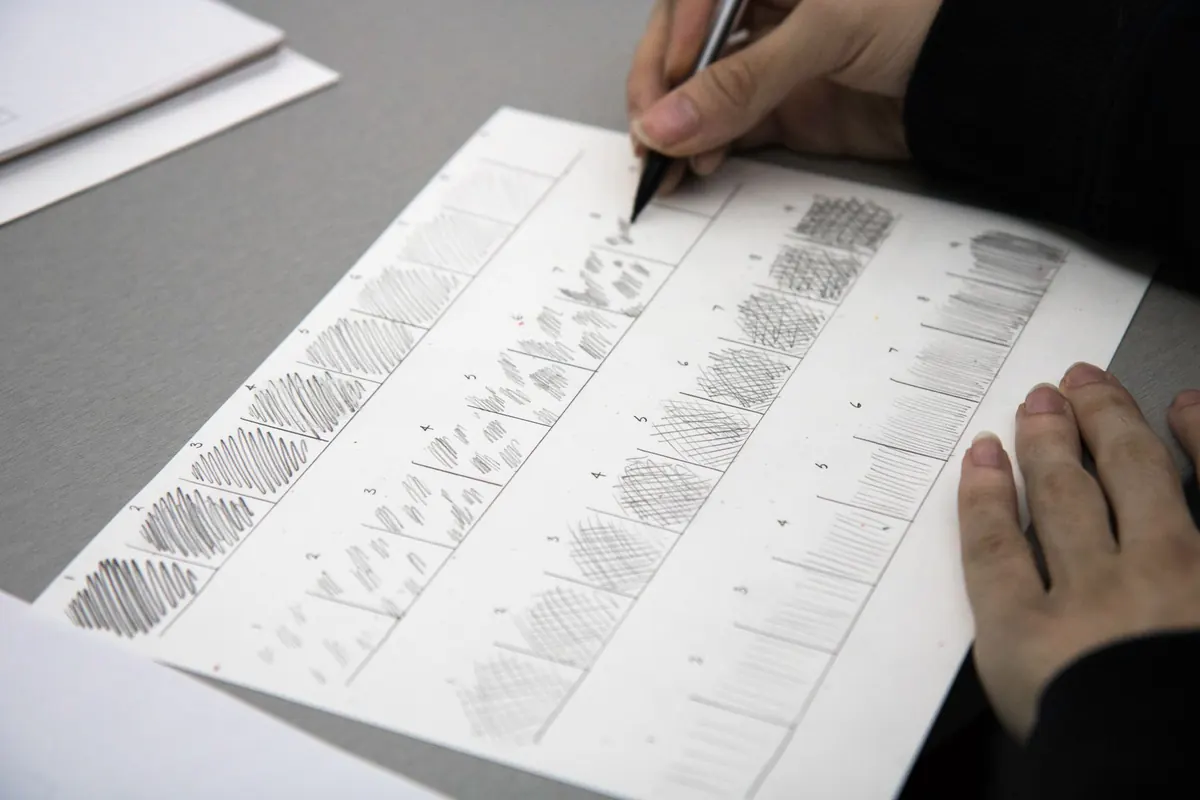
Draw the same eye ten times rather than ten different eyes. Repetition is what turns a set of instructions into something your hand simply knows. Fill a sketchbook page with irises alone, or lash lines alone, until neither feels like guesswork. Then work from a photograph with strong side lighting, where the shadow shapes are obvious, before moving on to softer, flatter light.
When you can draw one eye convincingly, draw two — and remember that they are a pair, so the lids, the crease and the outer corner should echo each other rather than match exactly. Asymmetry is normal; perfectly identical eyes look uncanny.
Photo: Roxanne Minnish / Pexels
You Might Also Like
A 30-day drawing challenge using household objects, with a week-by-week list, plus practical tips on observation, line confidence and shading habits.
Artist's block is rarely about missing supplies. Five free drawing exercises — timed studies, blind contours, master copies and more — to get your hand moving again.